What Size Image Do I Need for my WordPress Post?
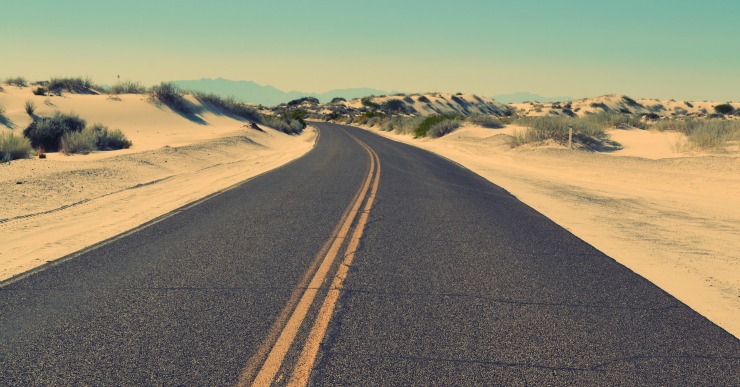
People often ask, “what size image do I need for my WordPress post?” Or they post a link from their blog to Facebook, only to find that the top, bottom or sides of their image are cut off, or the image is squished. This can be a frustrating problem if you don’t know what to do, but I’m going to try to make it easy for you. Just follow the instructions below and you’ll have perfect images like this every time!
When uploading images to your website there are a couple of steps you need to take:
- Determine the width you need to span your blog post. You can do this by right clicking on the text in an existing blog post and selecting “inspect” in the Chrome browser. This will cause your mouse to highlight different areas on your screen. Move the mouse around until it highlights the width of the blog content area and note the size. On my blog the width of a blog post is 740px.
- Divide the width you found in the previous step by 1.91, this is the height your image needs to be. Write this down. Why 1.91 you ask? Because Facebook images need to be a ratio of 1:1.91 in order to properly display on all devices. Based on this calculation, my image needs to be 740px by 387px.
- Now, how do you get your image to be this size? Do you even know what size your image is?! I’ve got an easy way to fix this problem, PicMonkey. PicMonkey is a free service that allows you to do all sorts of fun stuff to your images, and it’s free. You don’t even need to create an account! Open the PicMonkey site, then…
- Select Edit, and choose the computer to select a file on your hard drive. Select the file you want to work with.
- The first thing you want to do is Resize the picture. Most images are thousands of pixels wide, resulting in a very large file size. This can cause you website to be very slow, which can affect your search rankings. Always resize your images to the size you need, before uploading them to your website. Make sure the “keep proportions” button is checked. then type in the width from your size above. Mine is 740px. The height will automatically change to the correct proportion. Click apply.
- Chances are, your picture still won’t be exactly the right size. In my case, the picture I used ended up 740px x 493px. Now what?! It’s time for cropping! Click on the Crop button, make sure that the selected option is “no fixed proportions”, and type in the dimensions you want into their appropriate boxes. When you do, you’ll see a clear box outlining the part of the image that fits this size. Click and drag to move it up and down until the picture inside that area looks good (i.e. don’t cut off anyone’s head). Click Apply to crop the picture to the dimensions you specified.
- Click Save. Give your file a name and select the quality you want. I suggest choosing the smallest file size where the photo still looks good. Finally, click save to my computer, choose a location where you can find it later and click Save.
- Now you can go to your blog post, click Add Media, then Upload File and select the file you just created and add it to your post. The image should span the width of your blog post making your blog look very nice. Depending on your theme, you may also want to set the image as the featured image for that post. Don’t forget to Publish!
I have a lot more tips for working with images on your blog, but I think that’s enough for one day! Good luck. :)